
The mega difference between SBLs and the newer Blythes is that they only have two screws in the back of their heads and (more irritatingly) a glued-in head dome, with a scalp glued on top of that. This means they're a bit of a mare to get apart... no, seriously. One of my go-to websites mentioned SAWING.
With this prospect waving at me when thoughts of customising Elin reared their head, I was understandably reluctant to give it a go. But she and I really weren't getting on, especially after I tried to sell her and failed miserably.
I turned to Blythe Kingdom for advice. Although an appreciable amount of forumers suggested I send her off to the Bay of Evil, the majority thought she'd be salvageable with a bit of custom work. Most thought I should pay someone else to do it. But I'm afraid after spending £90 on a doll I don't really like, I'm not keen on spending another "fill in the box here" to end up with a doll I still don't like.
So up went the sleeves, out came the tools and on with it we got.
First step: screw removal. So far, so simple.
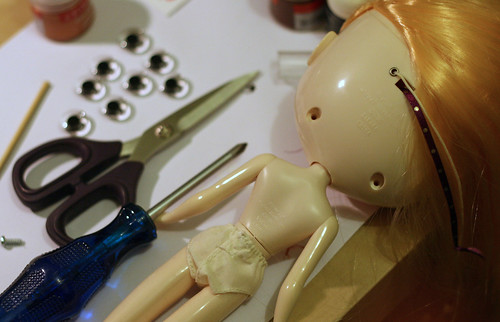 |
| We got 4 pairs of new chippies too! |
The disassembly stage thankfully isn't pictured. This involved a very sharp craft knife, side-swiping my thumb and managing to cut some of the scalp flanges off. Not a mega disaster, the edge of the scalp is still pretty clean and the thumb wound isn't deep, but still. We'd have liked a perfect result.
 |
| Blood not pictured. |
Getting the eye mech out was more tricksy than on Plum. Part of me wonders if this is because the plastic in a real Blythe is higher quality than the factory.
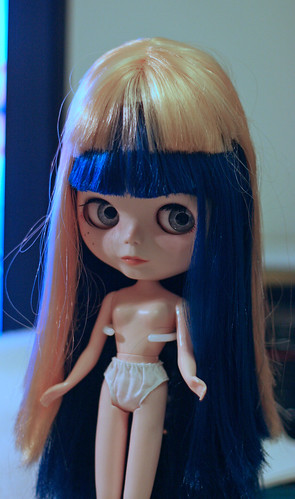 |
| Plum wants to be a) Blonde b) Nudist |
Finally, we were in bits and ready to start stage two!
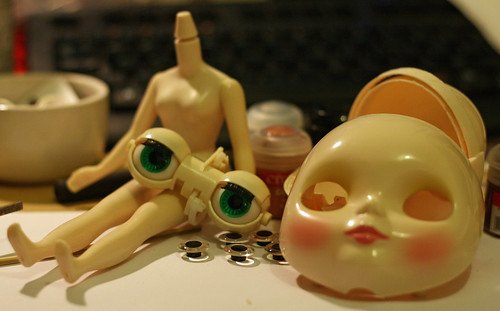 |
| Eye see you! |
No comments:
Post a Comment