
Today we're going to make a very snazzy t-tunic (with of course, the option to lengthen into a dress) that'll be a useful little number for your Makie's wardrobe.
You will need:
- Fabric scrap, about a 24 x 15cm rectangle for dress length.
- Paper to make your pattern from.
- Ruler.
- Pencil.
- Needle and thread or a sewing machine.
- An iron.
- A bit of ribbon.
- A Makie to model your creation!
First off, make your pattern:

The orange lines give you the measurements, the yellow lines are where you will cut. Cut out your pattern paper, being sure to make the midpoint of the top edge and 1.5cm either side of it. This will make your neck hole.
Next, with your fabric folded so the right sides are together, cut out two of the t-shapes. You might like to finish the sleeve and hem edges at this point; it's easier. I have to confess, I left mine rough. Too nice weather for faffery!

Keeping the right sides together, sew along the yellow lines. Remember to stop and start at the neck hole! You are aiming for a seam allowance of about 0.5cm.
Turn your tunic inside out and press flat with a hot iron. Mind your fingers!
Now, take your Makie model and pop off her head and arms. Slide the tunic onto the torso and replace the severed limbs.

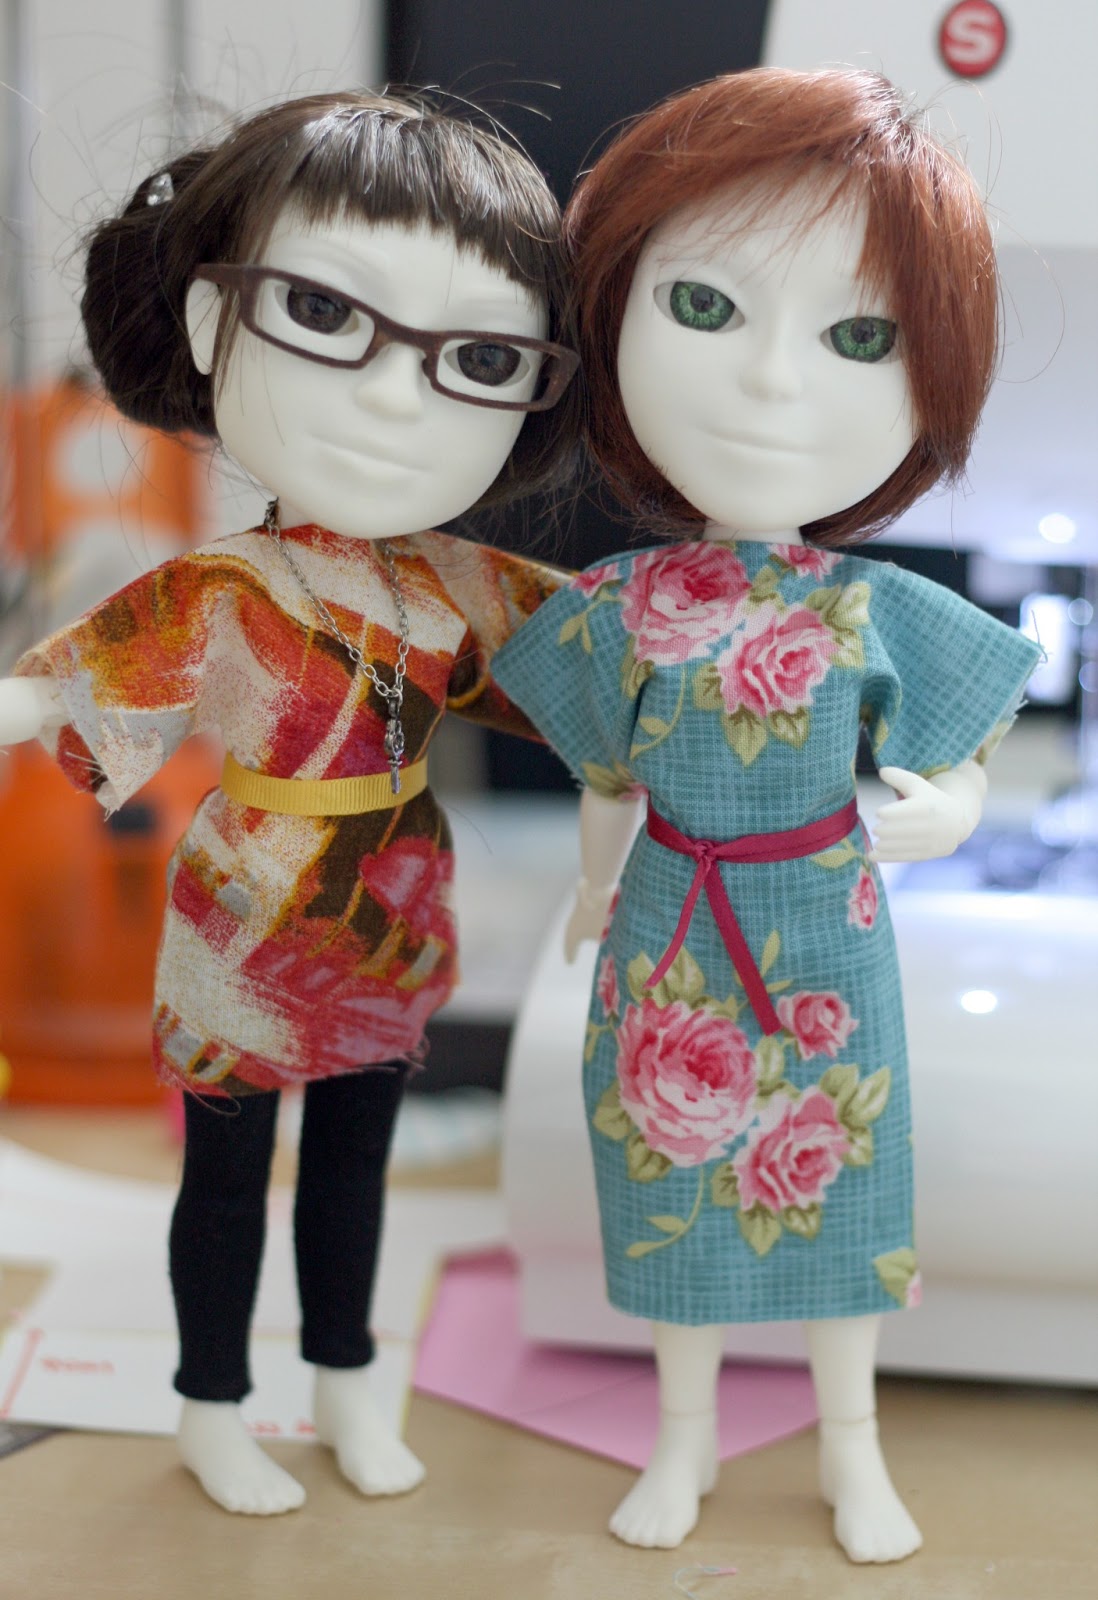
If you're feeling brave, you could let your Makie have a rummage in your ribbon and trims box to find a belt that they like. Tie it on to give the tunic some more shape.

Now you have to go and make one for your other Makie!

If there's anything you're not clear on, drop me a comment! Feel free to send photos of your finished tunics, I'd love to see them.
No comments:
Post a Comment