Showing posts with label makie couture. Show all posts

Monday, 29 April 2013

Spring Fashions

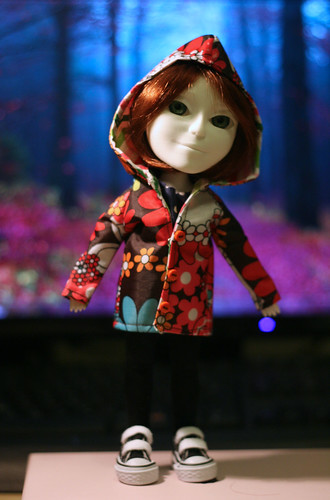
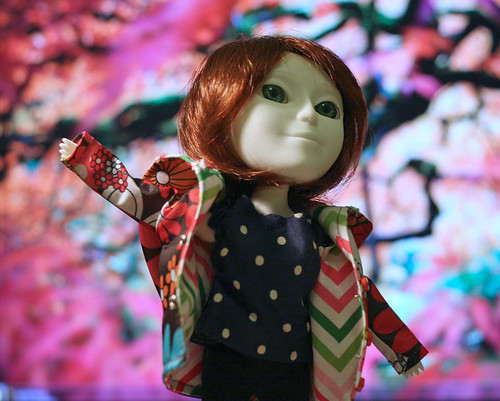
Finally had the chance to get the sewing machine out over the weekend... admittedly, it was 11pm before I could take a decent photo!

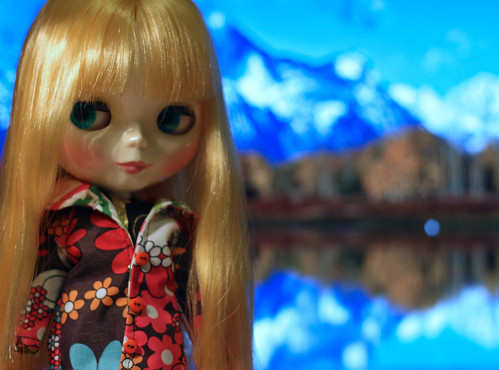
I picked up a nice little bundle of Tilda scraps a while ago which has got some lovely dressmaking prints in it. The fabric is designed as a quilting cotton, so is perhaps a little sturdy for clothing, but it holds a shape nicely. 


Wonder how long they can hang on to these before the Blythes nick them?!

Saturday, 30 March 2013

Makie Me: A Comfy Kimono


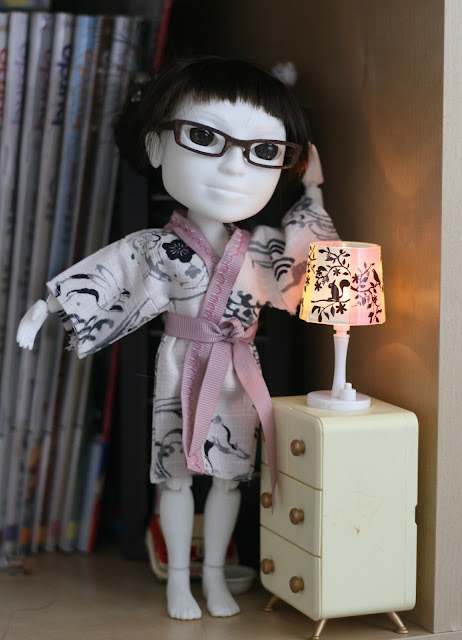
Here at Makie Couture, we're big fans of sleepwear. In fact, we're often to be found securely in our snuggly pyjamas before the clock has struck six pm.

Plink, about to crash out in her PJ's
This tute'll demonstrate how to make a comfy kimono for your Makie (or Blythe) to wear when they're in the mood for some mega lounging around.
Comfy, cosy and fab. 

You will need:

  • A piece of fabric, about 10 inches by 6 inches. 
  • Some ribbon, about 18 inches long. 
  • A piece of A4 paper
  • Ruler and pencil
  • Chalk pencil
  • Needle and thread; you could use a sewing machine. 
  • An iron is handy. 
First of all, make your pattern pieces. This is dead simple, they're both rectangles. 2 x 2" for the sleeves, 3.5 x 5" for the body piece. 

The sleeve piece is the small piece. The body piece is the big piece.
Note that both pieces need to be cut on the fold of the fabric.
Fold your fabric in half, align your body piece against the fold and cut out.
Then cut out two sleeves, again making sure that each is on the fold.

Unfold your pieces and mark the midpoints with your chalk pencil.

Red dots = midpoints of fabric. 

Matching the midpoints and with right sides together, sew the sleeve pieces to the body piece with a scant 1/4 inch seam.
I've already finished the sleeve openings here.
It's easier to do it at this point than when the kimono is assembled!

Flip open the sleeves like the pages of a book and iron flat. You should have a cross shape like below.

Folding the kimono with right sides together to make a 'T' shape, sew along the red lines. This completes the side and underarm seams.
If you're using a sewing machine, pivot at the corners.
For a neat finish, snip at a 45 degree angle into the underarm corners.
Don't do what I did and snip half of the kimono because you are TIRED and ILL. 

On what is to be your front, measure and mark the middle with your chalk pencil. Where the neck opening is to be, mark 3/4 of an inch on either side in a 'T' shape.
Marking the opening is really, really helpful :) 
Cut along the chalk lines and turn your robe the right way out. Fold back the neckline and press with your iron. 

Already looking good! 
Nearly there! All that's left is to apply ribbon to the open edge. It might be neater to do this by hand, but I used a decorative zig-zag stitch and a bit of caution. If you haven't already, neatly hem the bottom and sleeve openings.
Pink makes us HAPPY. 
You should have just enough ribbon left over to make a tie belt. Slip on your lovely new robe and go relax!

It's loafing time!
Just need to nick Melchie's fluffy bunny slippers...


Friday, 29 March 2013

Psssst!

Wanna know how to make one of these?
Kimonos are perfect for Bank Holiday loafing
Come back for a Makie Couture Easter Weekend Tutorial tomorrow!
We're off to enjoy some Hot Cross Buns :)

Thursday, 28 March 2013

T-shirt time!

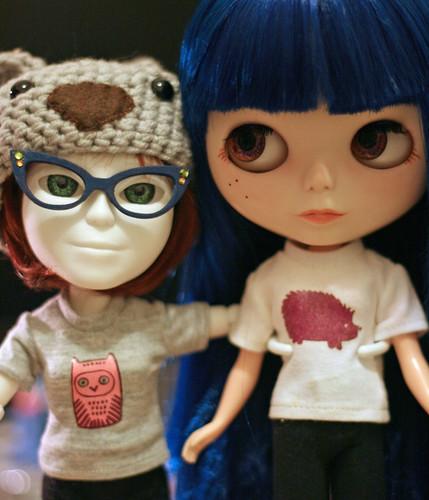
This week, we finally got to play around with some cool transfers that the lovely Jo sent us a whole age ago.

They're pretty easy to use, just switch on a medium iron, press for a minute or so, peel off the backing paper and there you have it. One owlified (or hedgehogginated) t-shirt.
T-shirts
Plain t-shirts via Coolcat; look for them on evilBay
Thanks very much, Jo! x

Wednesday, 16 January 2013

WINNAR!


Looks like Melchie and Plink got bored and decided to pick a winner without me*... 


Fil, looks like you're getting your fabric back again. Will send it at the end of this rather bonkers week :) 

*Good old-fashioned 'bung all the names in a hat and get the bloke to pick one out' was used, I just could not be bothered to photo it! 

Sunday, 6 January 2013

Tutorial: Turning the Hoodie into a Wolf Suit

Yes yes. Calling it a tutorial might be a little bit rich, but we'll take a bit of a liberty.

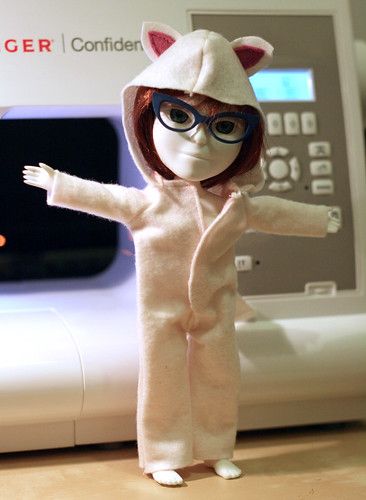
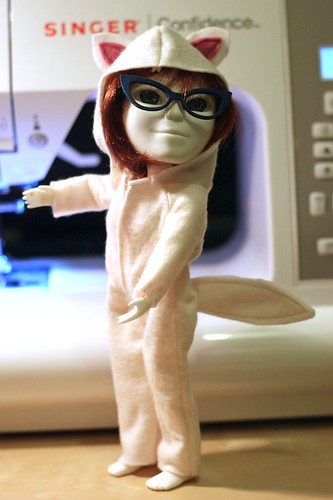
So here's the lovely Melchie modelling the prototype wolf suit: 

Rawr!
Rawr, innit?
For ease of finishing, the suit is made from felt. This means you don't need to worry about hemming edges and other fiddly stuff.

To make your own wolf suit, you will need: 
  • The MakieLab hoodie pattern and instructions, which you can get here. You will be using the FRONT, SLEEVE and HOOD pieces only. We will not be attaching the hood casing. I only use one of each piece and cut out with my fabric doubled. 
  • Some A4 paper
  • Pens and a ruler
  • Fabric marking pencil
  • Felt fabric measuring about 40 x 30 cm
  • Felt scraps to make ears and a tail. You don't have to do a wolf! 
  • Snaps or velcro to close
  • Thread and needles. Although I used a sewing machine, you could do this entirely by hand
  • Scissors
Are we ready? Let's go!

Print off and cut out your hoodie pattern, making sure you've got the right scale.

Take the FRONT hoodie piece, cut it in half along the centre front line.  Reconstruct the pieces on your piece of A4 paper, but with a 1cm gap between them: 

I find a bit of double-sided sticky helps to keep these in place whilst you draw the rest of the pattern.


Using your pens and a ruler, you now need to draw around your pattern pieces to make one piece that looks like the shape in this picture: 

The TAIL goes on the back piece, the OPENING goes on the front piece.
To find the mid point, measure along the original bottom edge, then use this to work out where the rest of the lines go. 
You'll note I'm only using the front piece of the hoodie pattern. The original is slightly asymmetrical, in that the back is narrower and the sleeve edge a little differently shaped, but I find you need the width in a non-stretchy fabric and the sleeves fit just fine.
Cut out your trouser legs. The gap in mine measures 1cm in width at the ankles.

Next, take your hood piece. Draw a line where you'll be attaching your ears. I did mine 6cm back from the upper point of the hood.

I get sharpie EVERYWHERE when I use it. 
Then take your sleeve piece...
Nice to know, isn't it? 
Once you've got your pattern pieces, read all these instructions three times before proceeding. I used 0.5cm seam allowances throughout my construction, and the fit is pretty good.
  • Cut two of every piece from your fabric. Remember that if you're cutting on a single layer, you'll have to flip your hood pieces so you get two opposite-shaped pieces (alternatively use both of the hood pieces from the original MakieLab pattern). 
  • Mark your front opening, tail slit and ear slits on the fabric pieces using a chalk pencil.
  • Snip the inverted 'Y' shape on the front piece. Fold the raw edges to the inside and topstich along the opening in a 'U' shape. This gives you an easy way to get the Makie in and out of the suit.  
  • Snip along the tail slit opening on the back piece. Make your tail, insert it into the opening on the right side. 
  • Fold the back piece in half, right sides together, sandwiching the tail, and sew the opening closed 0.5cm away from the edge. 

Insert the tail from the right side, then fold the whole piece in half along the line of the slit.
Sew to close the gap and fix the tail
  • Snip the ear slits and insert the ears in the same way as the tail. If your ears have contrasting 'inner' bits, make sure they're facing the right way before you sew!

Make sure your contrasting inner ear bits are facing forwards, towards the hood opening.
Fold the hood piece in half along the line of the slit, like you did for the back piece. 
Sew across the base of the ear to close the opening.
Repeat in exactly the same way on the other hood piece :) 

Once the ears are inserted...
  • Follow the MakieLab instructions for sewing the sleeves to your front and back pieces.
  • When you get to sewing the underarm seam, simply continue along the side seam down to the bottom of the trousers. 
  • Sew the inner leg seam and turn the suit the right way out. 
  • Sew the hood pieces together as per MakieLab instructions. DO NOT SEW THE BOTTOM EDGE OF THE HOOD INTO A RING, leave it open. 
  • Pin the hood to the suit with right sides together, leaving an equal gap at each edge. I find this is easier if you find the midpoint of the back piece and pin this to the hood seam, then attach everything equally
Blue arrow shows the midpoint of the back piece.
Match this up with the hood seam to place your hood in the middle.
This is the point where you try on to your Makie. Trim the sleeves and trousers to a good length (this is part of the beauty of using felt to make this costume; you don't have to worry about hems and cuffs!), and trim the hood edge away from the face if you need to. 

Once you're happy with the fit...
  • Attach your snaps or velcro to the front openings. 
  • Pose.
  • Prowl. 

Rawr!
If you want, you could extend the sleeves over the hands and attach claws.
Eyes and a nose on the hood could look cute.
Why not attach a row of teeth around the hood opening! 
Taadaa! We're done. Have a cup of tea! Oh, and take photos and share them!

If there are any bits you're not sure on, chuck a question in the comments and I'll do my best to help.  

Friday, 4 January 2013

Another Giveaway? Woo!

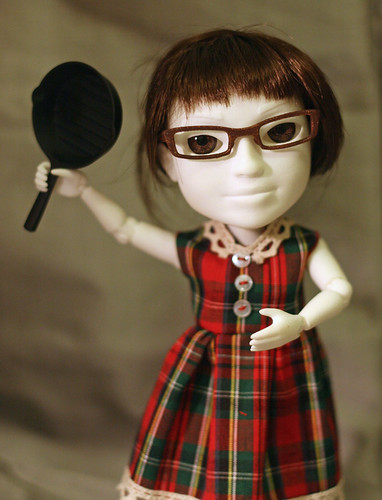
So it turns out that Plink is not a fan of her tartan dress wot is made with lovely fabric that the Fil sent me, and she's decided that another Makie is deserving of it.

Untitled
You don't get the frying pan... 
This dress is hand-sewn from a beautifully soft fabric that was an unexpected present from the Fil. It fastens at the back with two snaps and has crochet lace around the neck and hem, and three tiny buttons. 

As it's hand sewn, this garment will not stand up to rough handling or children. 

To be in with a chance of winning the dress, leave a comment on this post by noon GMT on Monday the 14th of January. I'll pick the winner once I've woken up from my snooze post night shift! 

Good luck! :) 

Saturday, 8 December 2012

Winter Warming

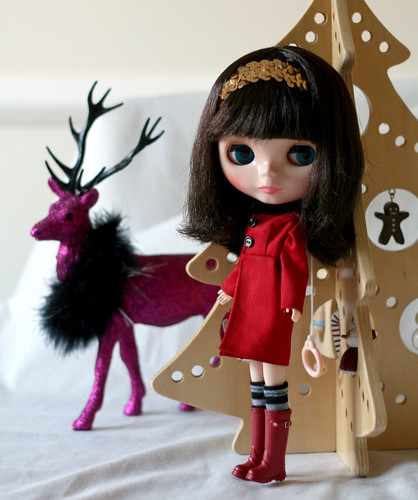
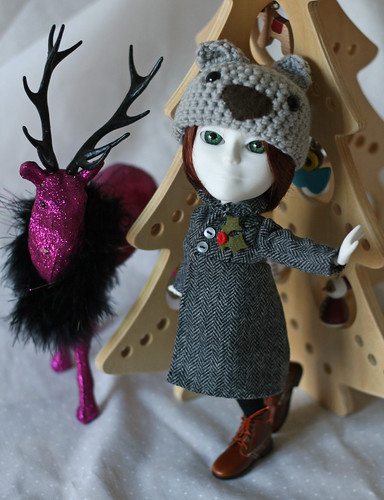
When you're off out on a frosty walk, you need your warmest coat. Happily, our warmest coats are also our newest and smartest.
Aspen
Glittery hairbands are FESTIVE
Aspen's coat is made in red cotton twill, finished with black velvet ribbon for the collar.
Aspen
...where'd that Reindeer come from? 
The coat pattern is I think from a Dolly Dolly book, although I purchased it as a PDF from an unscrupulous Etsy seller who appears to have scanned it and is passing it off as their own. I've since reported them (although doubt that's going to make any difference).

Melchie's new coat
O HAI DEER
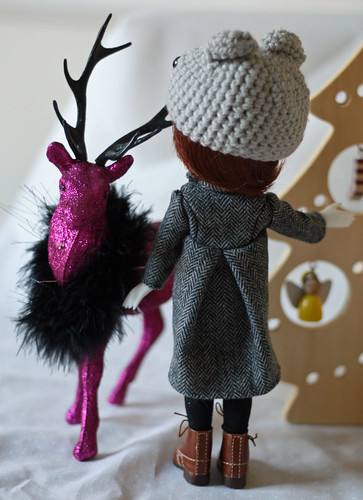
Melchett is modelling a herringbone wool version, which is made from the fabric that keeps on giving. I purchased 3m on evilBay and I've got a dress and two skirts for me, a cushion and now a Makie coat out of it, and there are still scraps left!
Melchie's new coat
Admire my beautiful back end
The back pleat gives an active Makie room for Mischief.
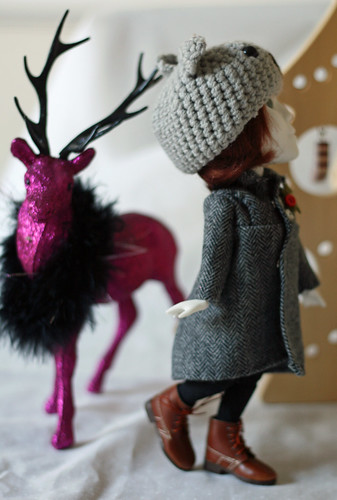
Melchie's new coat
This is what we technically call 'posing'
Melchie, stop faffing about.
Melchie's new coat
Taa daa

Thursday, 15 November 2012

WINNAR!

Ladies and Jellyspoons...

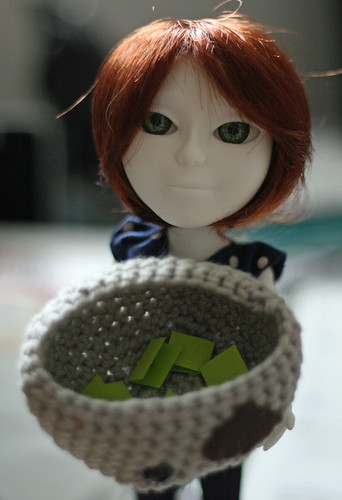
Using the highly impartial "write everyone's name on a bit of post-it and bung it in the bear hat" method, we have our anorak winner.
Picking a winner...
Hand-picked by the boyfriend with man-floo, poor thing.
Congratulations go to...

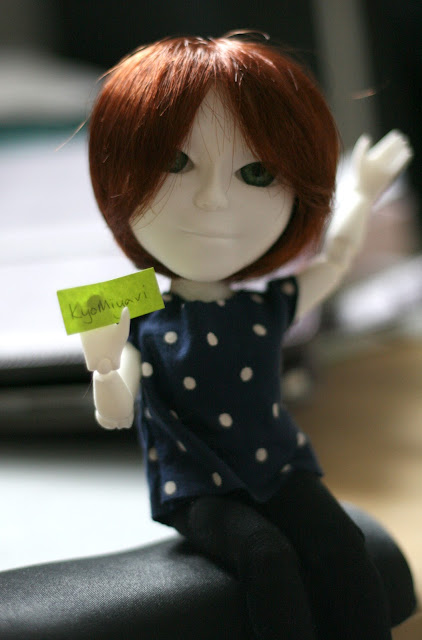
KYOMIYAVI, YAAY!

And the recipients of a mo-onna-stick are...


Benooooon, Jojojojo and Mamta! Woo!

Congratumalations to all the funktastic winnars. I think I have an address for Benoon, I've certainly got one for Jo and Mamta and KyoMiyavi, if you send your preferred postage addresses to duckiemonster@gmail.com, I'll get them in the post to you ASAP.

Sunday, 11 November 2012

Oh Em Gee Freebies!

Huzzah!

We hit 10,000 views and we've hit 100 posts and I promised you a give-away, so here it is!
You Anorak
We'd have gone outside, but it was dark by the time I finished it... 
Yup, you get Melchett!
You Anorak
Artificial lighting provides a lovely artificial 'sunset' effect, no?
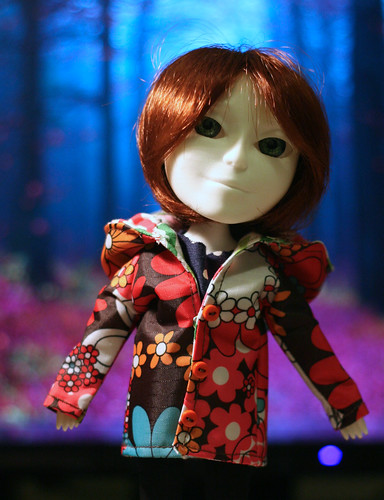
No. You don't get Melchett, but you do get the wonderful anorak that she's wearing.
You Anorak
Hood goes up, hood comes down.
This hooded number was made by my own fair hands and the modern marvel of sewing machine technoology. The outer shell is a glorious retro print waterproof fabric and it's got a snuggly quilting cotton lining. It's based on the MakieLab hoodie pattern.
You Anorak
Snuggly lining!
Because it's not made out of stretch fabric, the fit can be a little snug. Would not recommend wearing your thickest jumper under it, but it works fine with shirts and dresses.
You Anorak
Melchett's lovely back end.
It fits Blythe in a 'sort-of' fashion; obviously the hood doesn't fit. Elin rather likes it though.
IMG_9777
Cultured Blythes go skiing. 
As I'm super over-excited, there will be 3 additional items up for grabs...
Movember
Moooooooooooooos!
Oh yes, the mo-onna-sticks are looking to travel! Obviously one has to go to the anorak winner, but you could be the proud recipient of one of the other three.

To be in the running to win the anorak or your very own mo-onna-stick, all you've got to do is comment on this post before 23:59 GMT on Wednesday the 14th of November. Please try to leave a valid email address (or if you don't want to do that, leave at least some sort of name/nickname for me to pick out of the hat... no good if we're all Mr Anonymous!). Winners will be drawn out of a hat (possibly a bear hat) on Thursday by either my lovely boyfriend or one of my cats, whichever is closer. I'll happily post anywhere in the world.

Please bear in mind that I do this for fun and I'm not a professional seamstress. The item is probably one of the best things I've ever made, but it does have its flaws! Don't look too closely at the stitching and don't be surprised if the snaps fall off...

Wednesday, 17 October 2012

Moo!

Here at Makie Couture, we're a big supporter of Silicone Roundabout businesses, and we've been fans of Moo ever since they printed our first cute Moo cards for swapping over pints at Oxford flickr meets (*takes a moment for some nostalgia*)
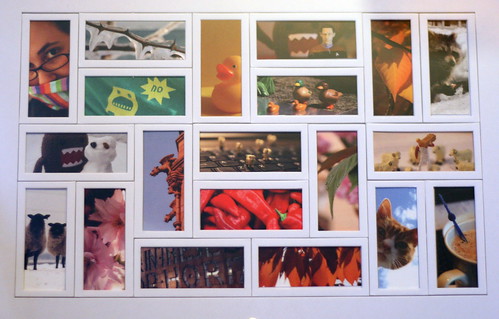
The Accursed Frame of Moo
The Accursed Frame of Moo, which is on my hallway wall.
2008, representin'
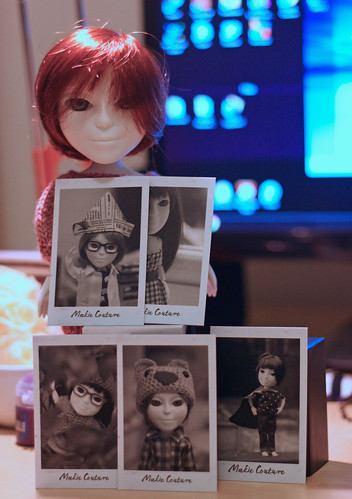
Of course, we had to get some up-to-date Makie Couture business cards sorted for the Makie meet...
IMG_9451
Classy!
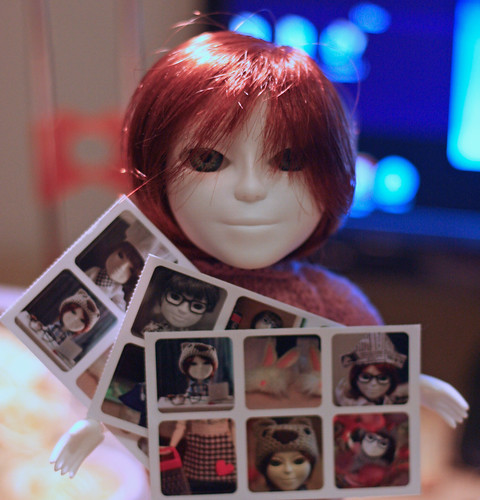
...and some fun stickers!
IMG_9449
TINY HATS!
The sticker books are great value, and with reasonable P&P and a pretty swift and speedy service, you can't go wrong. Of course, you can go even less wrong if you clicky this linky here, because you'll get 10% off of your first order*.


*and I get some Moo points towards my next purchase. But hey, I bring you all this entertainment for free, so it's worth it, right?!