Anyway. As promised, here's a guide to making your very own paper hat, Makies for the wearing of. This is adapted from a classic paper hat fold you can do with a £5 note, either for leaving as a pretty tip or for annoying bus drivers. Hahaha.
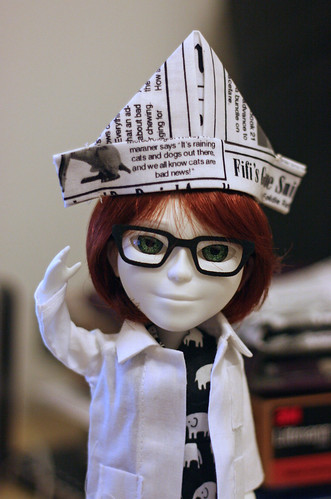 |
| Smart, eh? |
- Fabric measuring 12.5cm by 20.5cm (roughly 5" by 8 1/4")
- Iron and ironing board
- Needle and thread
- Fray check
- Scissors
Okay! Let's get folding. First thing, a warning:
You will be using a iron to crease all of your folds. Although you could use the heat only, you will most likely need steam to set the creases. The steam shoots out in all directions.
You are very, very likely to get burnt fingers if you're not paying attention to what you are doing!
Do not attempt to make these hats with small children, pets or wayward Makies distracting you!
Crystal? Right. Read through all the steps, then have a go. If you're not clear on how the folding works, try it with a piece of paper before you move on to the fabric.
First, lay your fabric face down on the ironing board. Fold over 0.5cm ish at each end. This gives you a nice finish on the bottom opening of the hat.
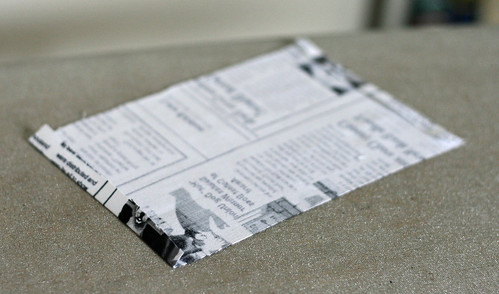 |
| Flat, flat, flat. Fold ends and iron. |
 |
| Opening at the bottom, or you'll not get into your hat. |
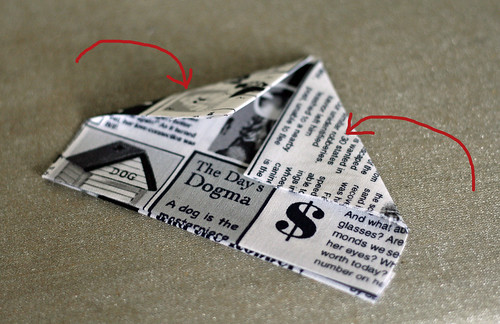 |
| Find the middle first! |
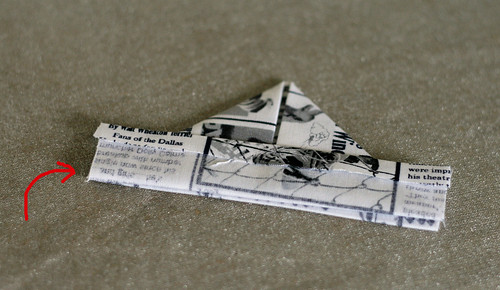 |
| Opening still towards you, yes! |
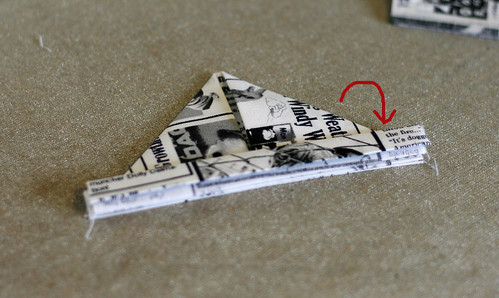 |
| Basically fold the flat bit in half, so's there's a nice finish. Flatten with the iron. |
To finish the hat, you need to do a few little sewing stitches at the red dots. I just overcast a couple of times and make sure it's secure. For a smart finish, trim the edges marked by the arrows and apply a little fray check to stop... well. Fraying.
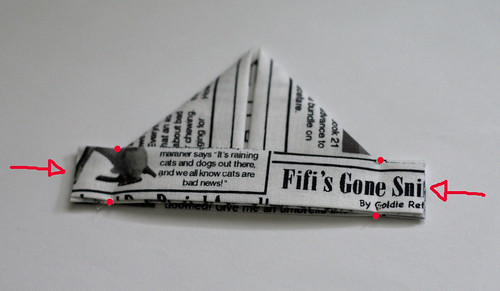 |
| Stitch through all layers at the dots to hold the hat together. Trim and fray-check at the arrows. |
 |
| "Little haaaaaaaaatses!" "Hey! Plink! Play nice!" |

No comments:
Post a Comment